
Home AI Lab, Chapter 1: Unboxing the Gold Box
I bought an NVIDIA DGX Spark here are the first few hours of setup actually looked like.
Let me start by saying why I went through the route of buying such an expensive machine like the DGX. As someone focused on private AI and private AI security and operations in my day to day job I am in constant learning mode, for that I need a proper lab. But I could’nt just as easily lean on my company’s resources, GPUs are expensive, and yes, I have access. But its a temporary access and not ongoing so I cant do whatever I want. To really understand how to build and secure agentic workloads and everything that goes with them I set to find the best and most effective way to build a real lab at home.
After a lot of research, and non stop conferecing with my brother in crime Oren Penso it came down to two main components:
- A way to run the models
- An x86-based lab to run VCF (VMware Cloud Foundation), probably Tanzu, an agentic platform, and other stuff
I’ll get to the x86 server later in this journy, I haven;t bought that yet, it’s extrnly expensive with today’s prices (need to sell a kidney for 512GB of RAM), and I still haven’t decided what I’m going with, though I have a few different options and specs in mind. I’ll cover that in another post.
I decided to start with the model-running piece first, because that’s honestly the part I’m least knowledgeable about. At the beginning, because the cost was so heavy, I was actually thinking about combining it with a gaming machine build something with an RTX 5090 that could run models and also let me game. Then I realized that trying to do everything usually means you do nothing well, and the real limiting factor with these cards is VRAM. A 5090 has 32GB of VRAM. That’s enough to run something like Qwen 32B and it’ll play great games, but I already have an Xbox for that.
To be fair to the 5090, it’s not like it’s the worse card. It actually has way more memory bandwidth than the DGX, something like 6-7x more, so for any model that actually fits inside that 32GB, it’ll run circles around the DGX in raw tokens-per-second. The trade-off isn’t “DGX good, 5090 bad.” It’s speed versus capacity. The 5090 is fast but boxed in. The DGX is slower per token but the ceiling is way higher. And once you’re working with real, useful-sized models the 70B, 90B, 120B range the 5090 simply can’t load them at all. It’ll just crash out. I’ve seen this documented directly: models like Qwen 2.5 72B and Llama 3.2 90B, the 5090 can’t even get off the ground with, while the DGX chugs along steadily, just slower. That’s the trade I was making going in.
Look at the DGX machine instead: it runs around $4,500 to $5,000 depending on where you buy it, and what you get is the same GPU capability but with shared memory across the system, giving you access to 128GB of VRAM. That’s the cheapest way I could find to actually run a model that’s genuinely good at what it does. GPT-OSS is a model that can hold a real conversation, do real analysis, and behave like something in the ChatGPT or Claude family, obviously not at frontier-model level, but good enough to actually learn on.
And that’s the point, really. how do you actually learn what to do with these systems? You need to push them. You need to treat this like it’s production, not a toy.
Spending more money on a bigger box might get you there too, but here’s the honest math: a 5090 on its own actually runs a bit cheaper than the DGX Spark, somewhere around $2,500 to $3,000 for just the card. Once you add a case, PSU, RAM, and cooling to actually build a machine around it, the gap closes fast, and you end up spending close to the same money without gaining any of that memory headroom. So it’s not that the 5090 route costs more outright, it’s that you end up paying almost the same and still hit a wall at 32GB. For me, the DGX is genuinely the right move if the goal is to actually learn how to work with models and agentic systems.
For now, everything’s going to run on the DGX. Down the line, I’ll bring in an actual x86 server on the network to run the applications, agents, infrastructure, and security layer, and the DGX will get scoped down to just model serving providing an API for everything else to call.
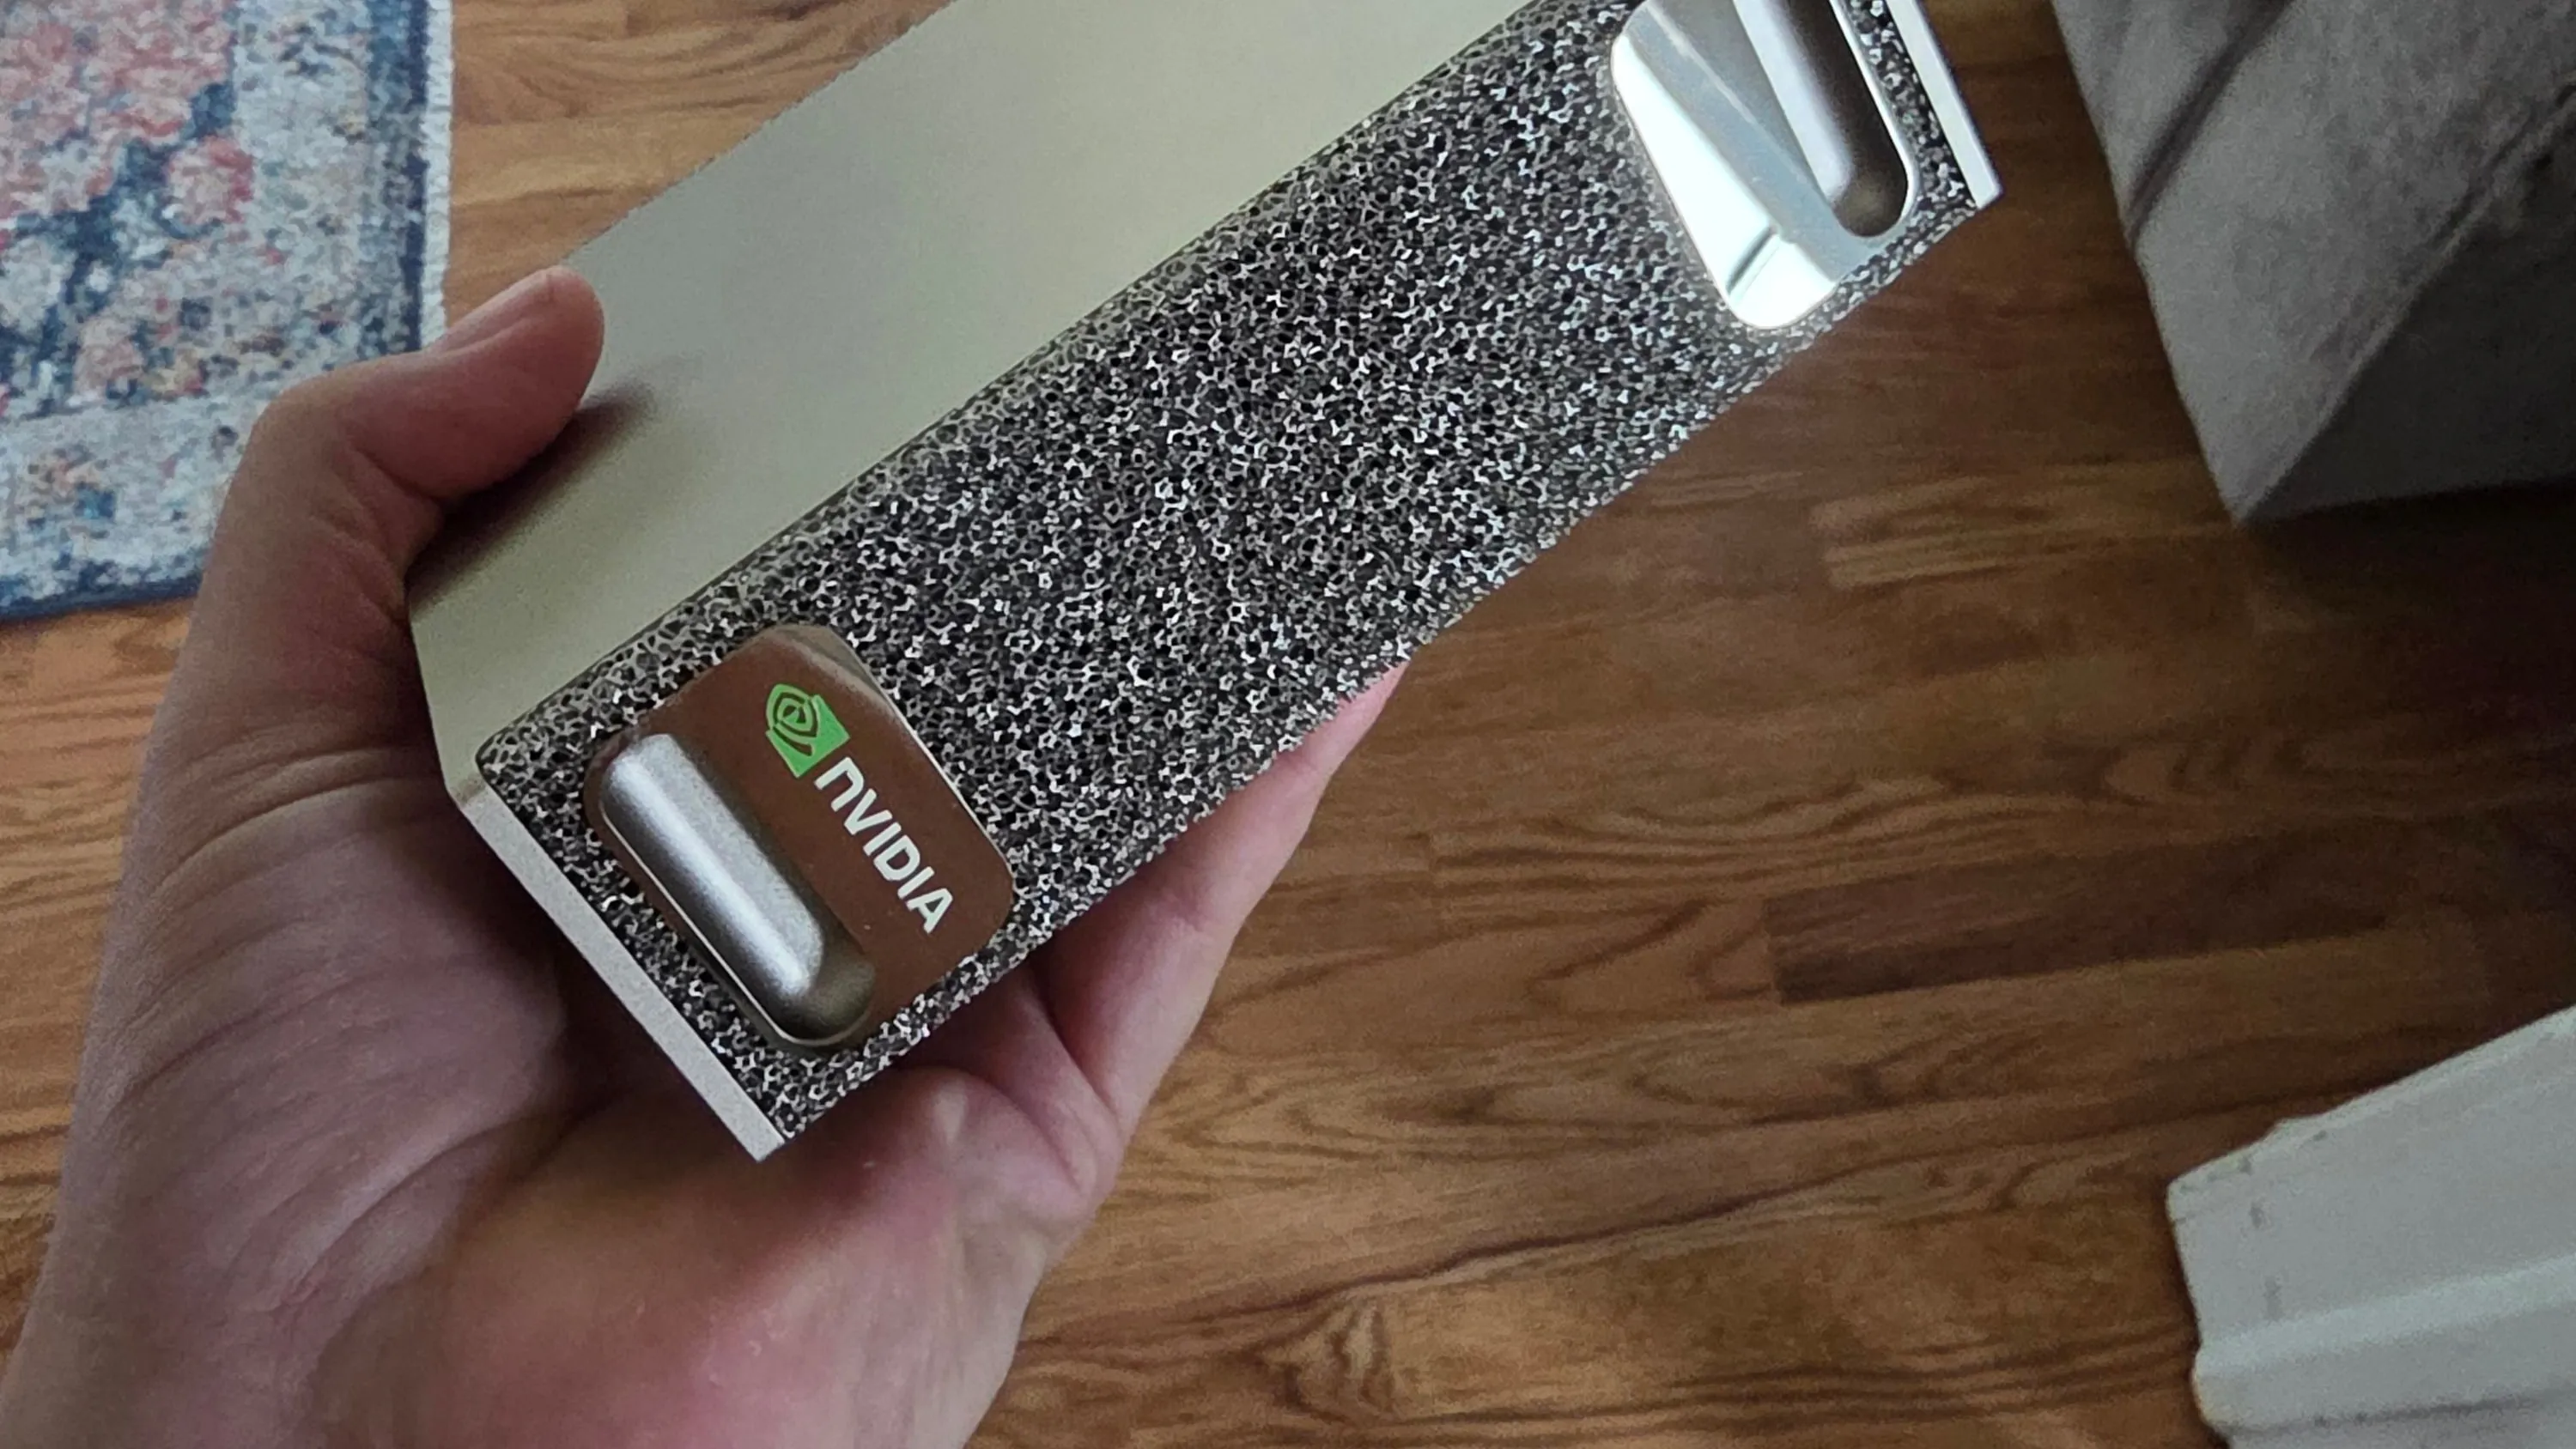
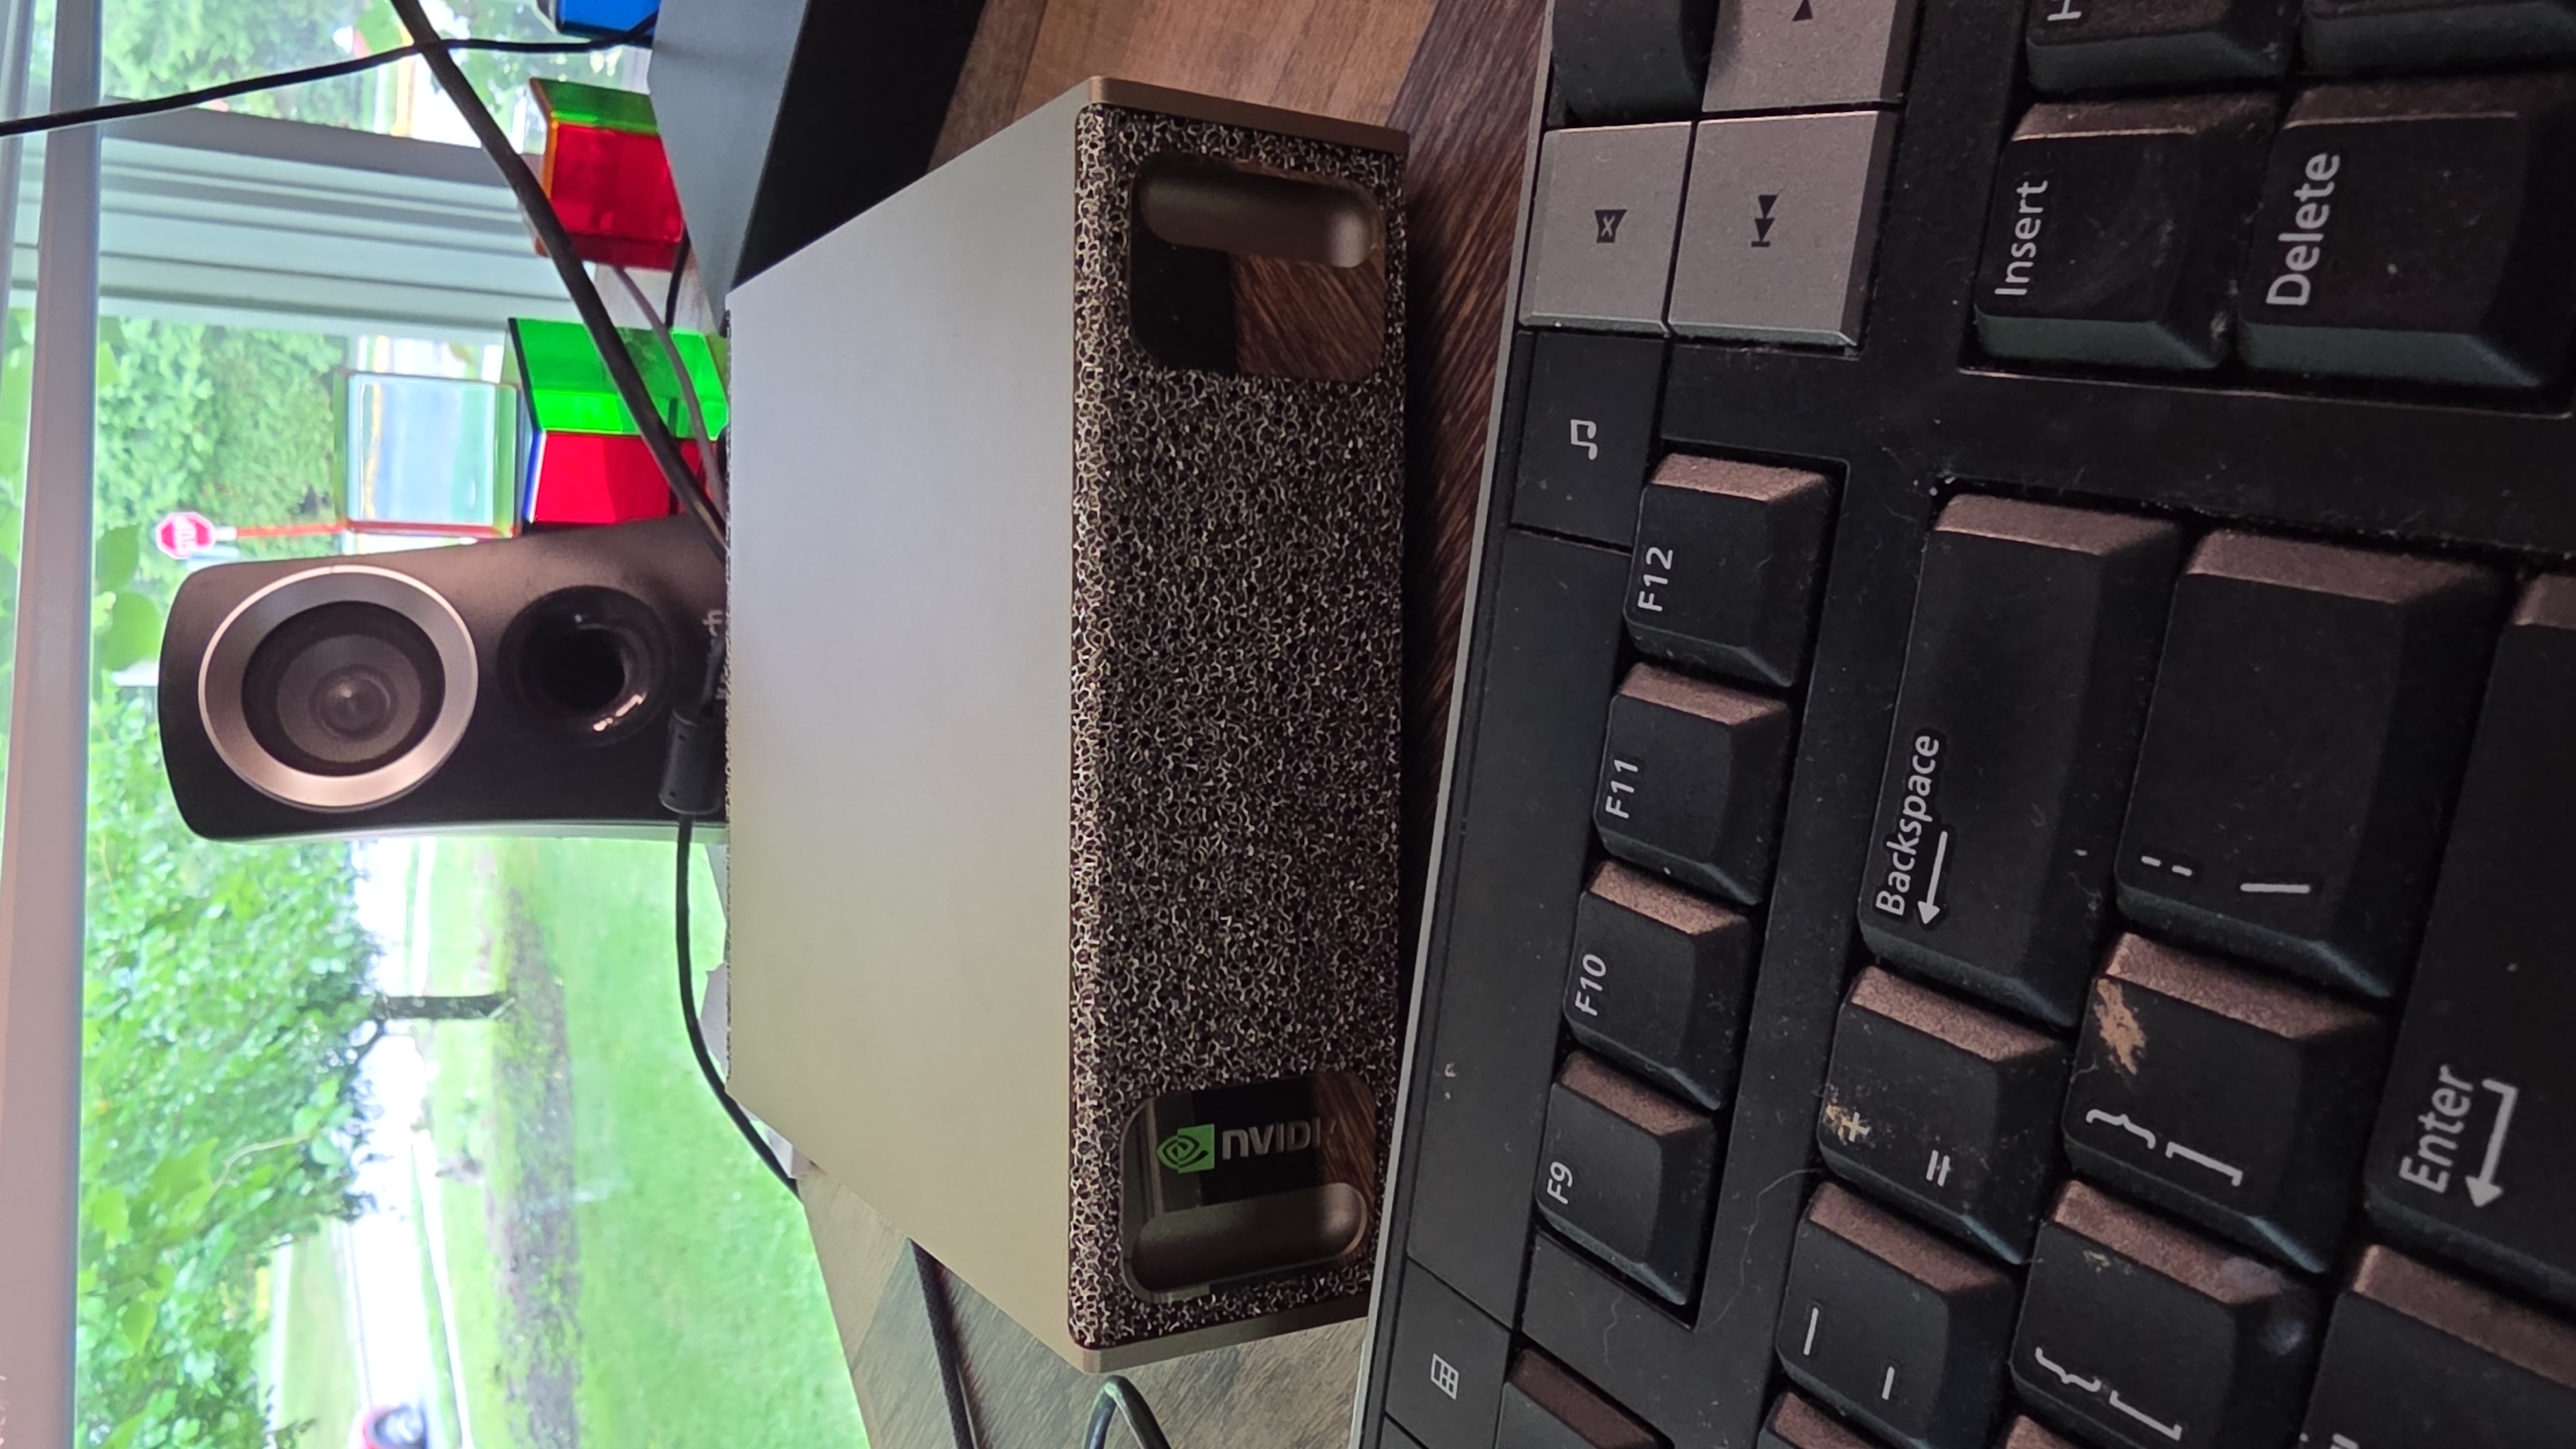
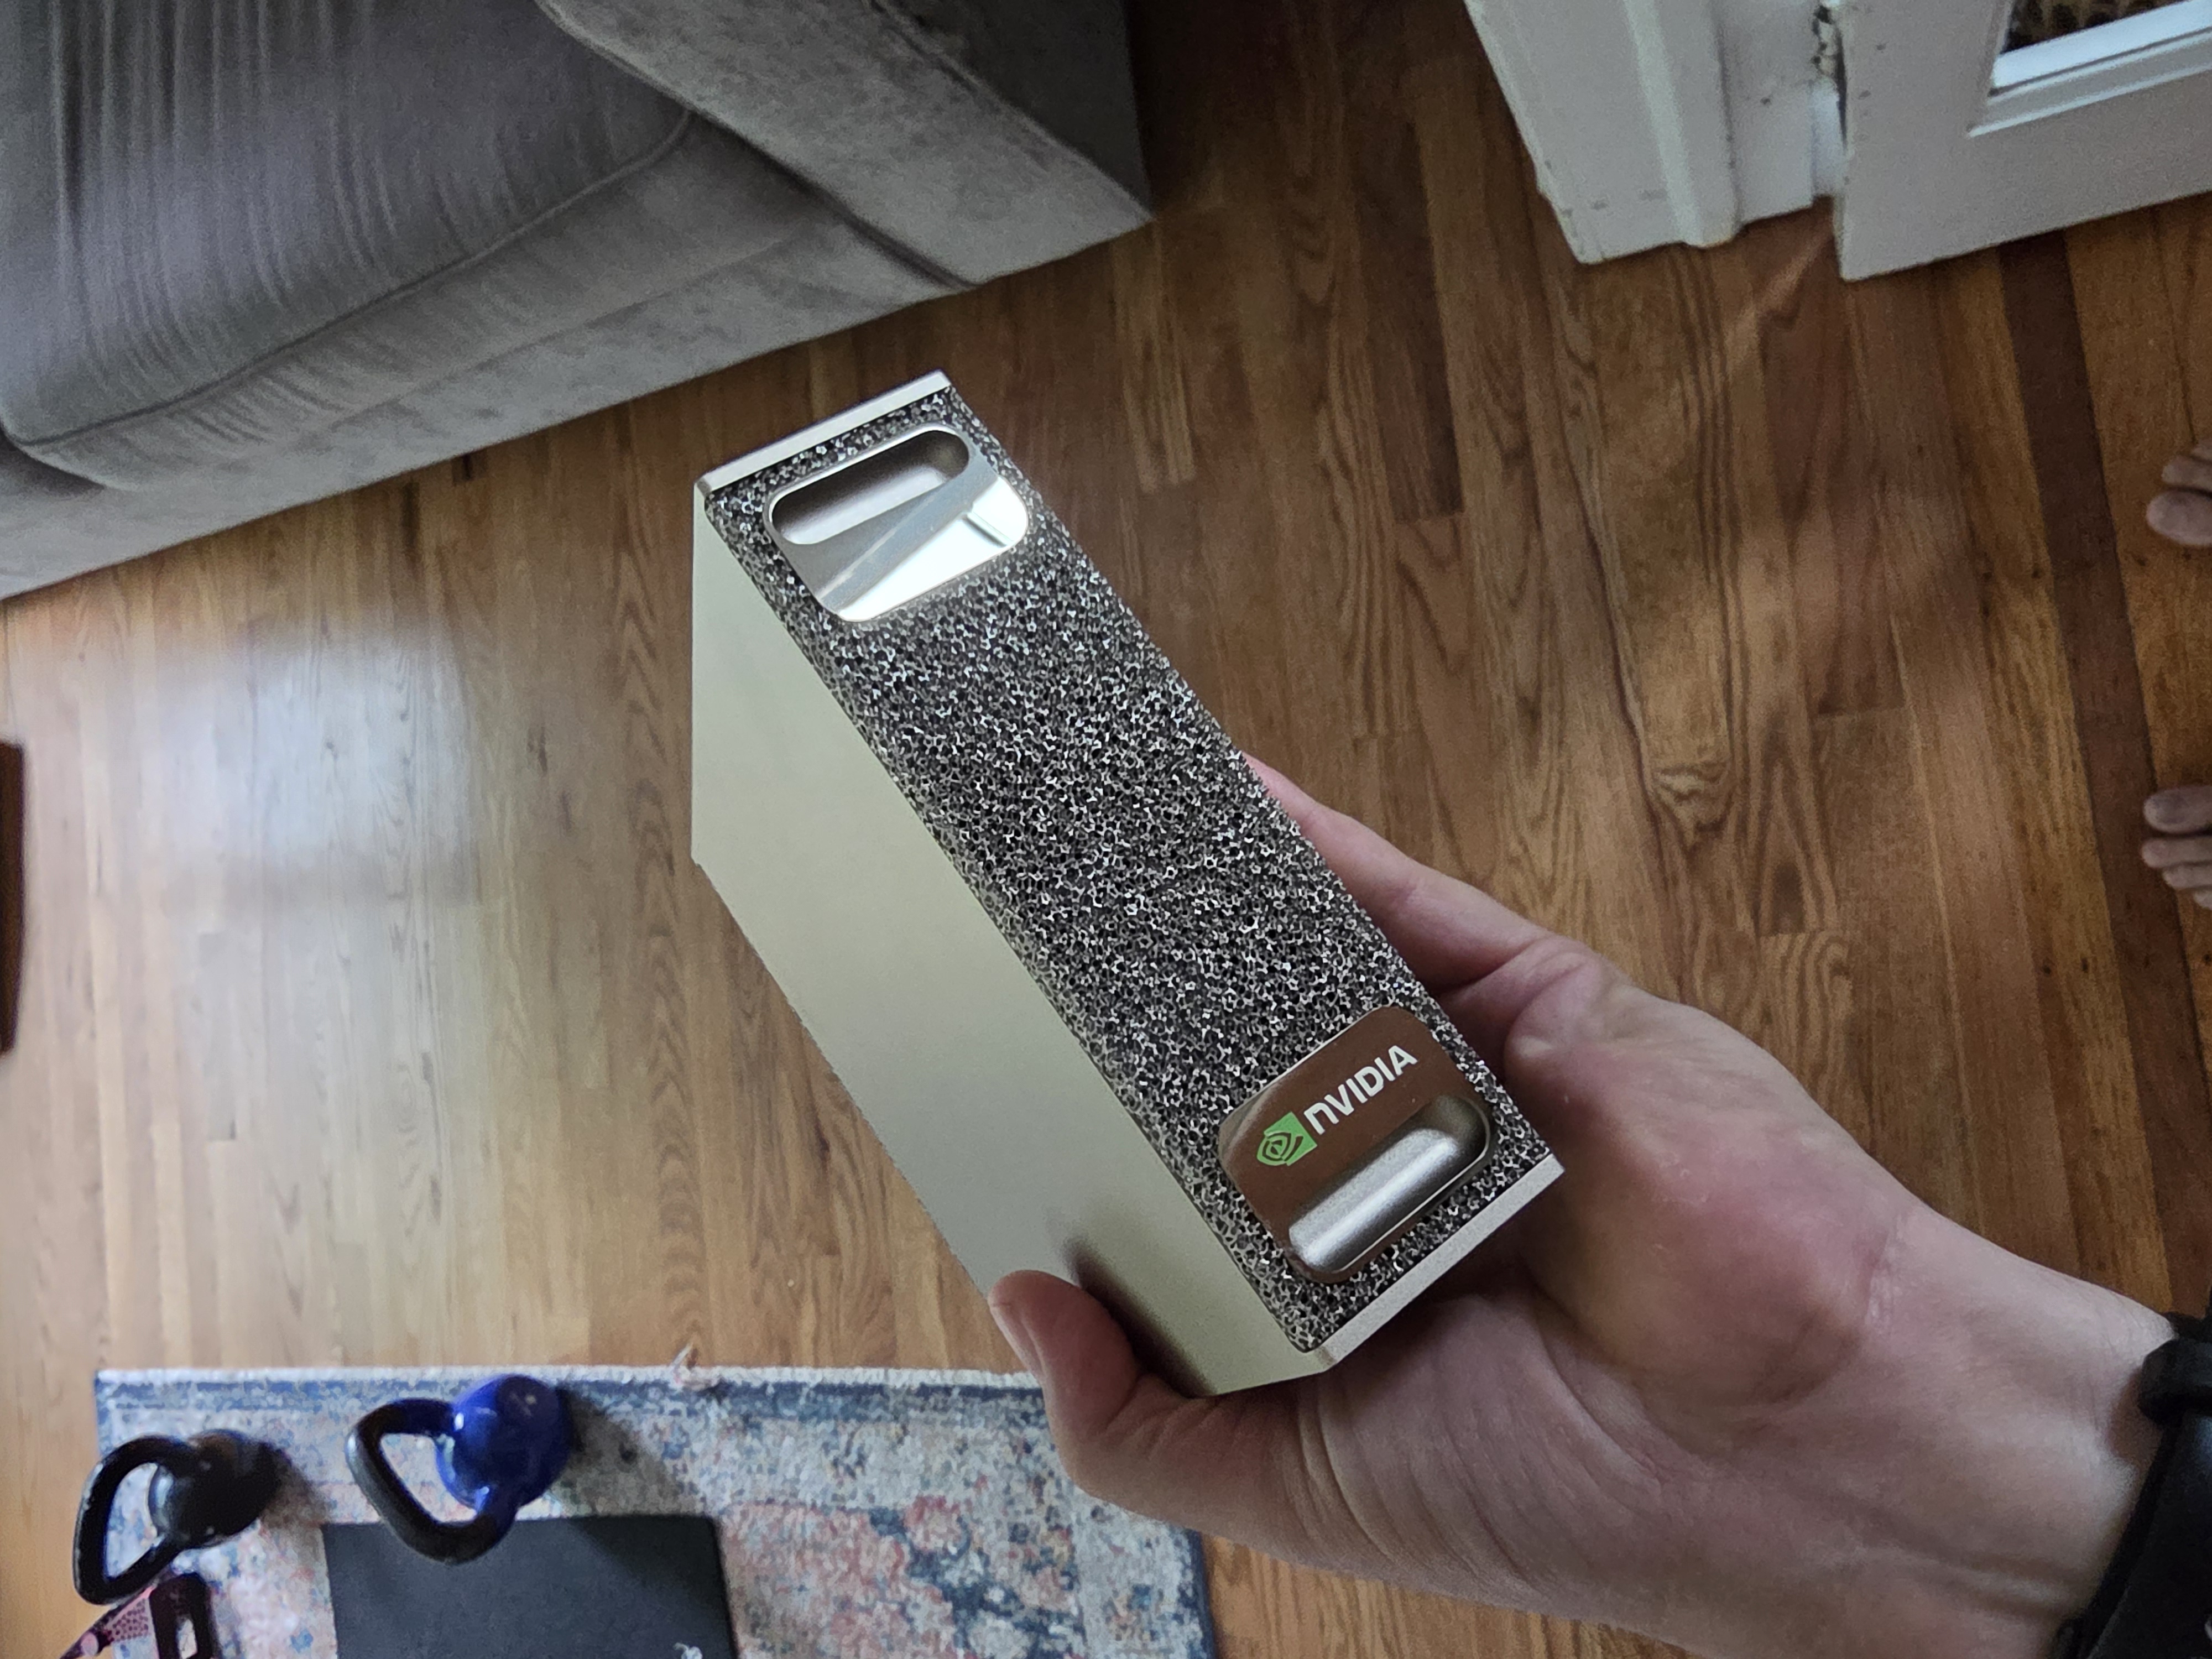
So I got the machine. It’s a small box, EXPENSIVE, and when I opened it up, this golden computer came out. And I have to say, I love that it’s gold. There’s something about it that just makes you feel like you paid for something luxurios, and it looks the part too. Right now it’s basically sitting on my desk like jewelry. I know that sounds ridiculous for a piece of compute hardware, but that’s genuinely the vibe.
(If you just want the step-by-step of what I actually did to get this thing up and running, skip to the checklist at the end of this post.)
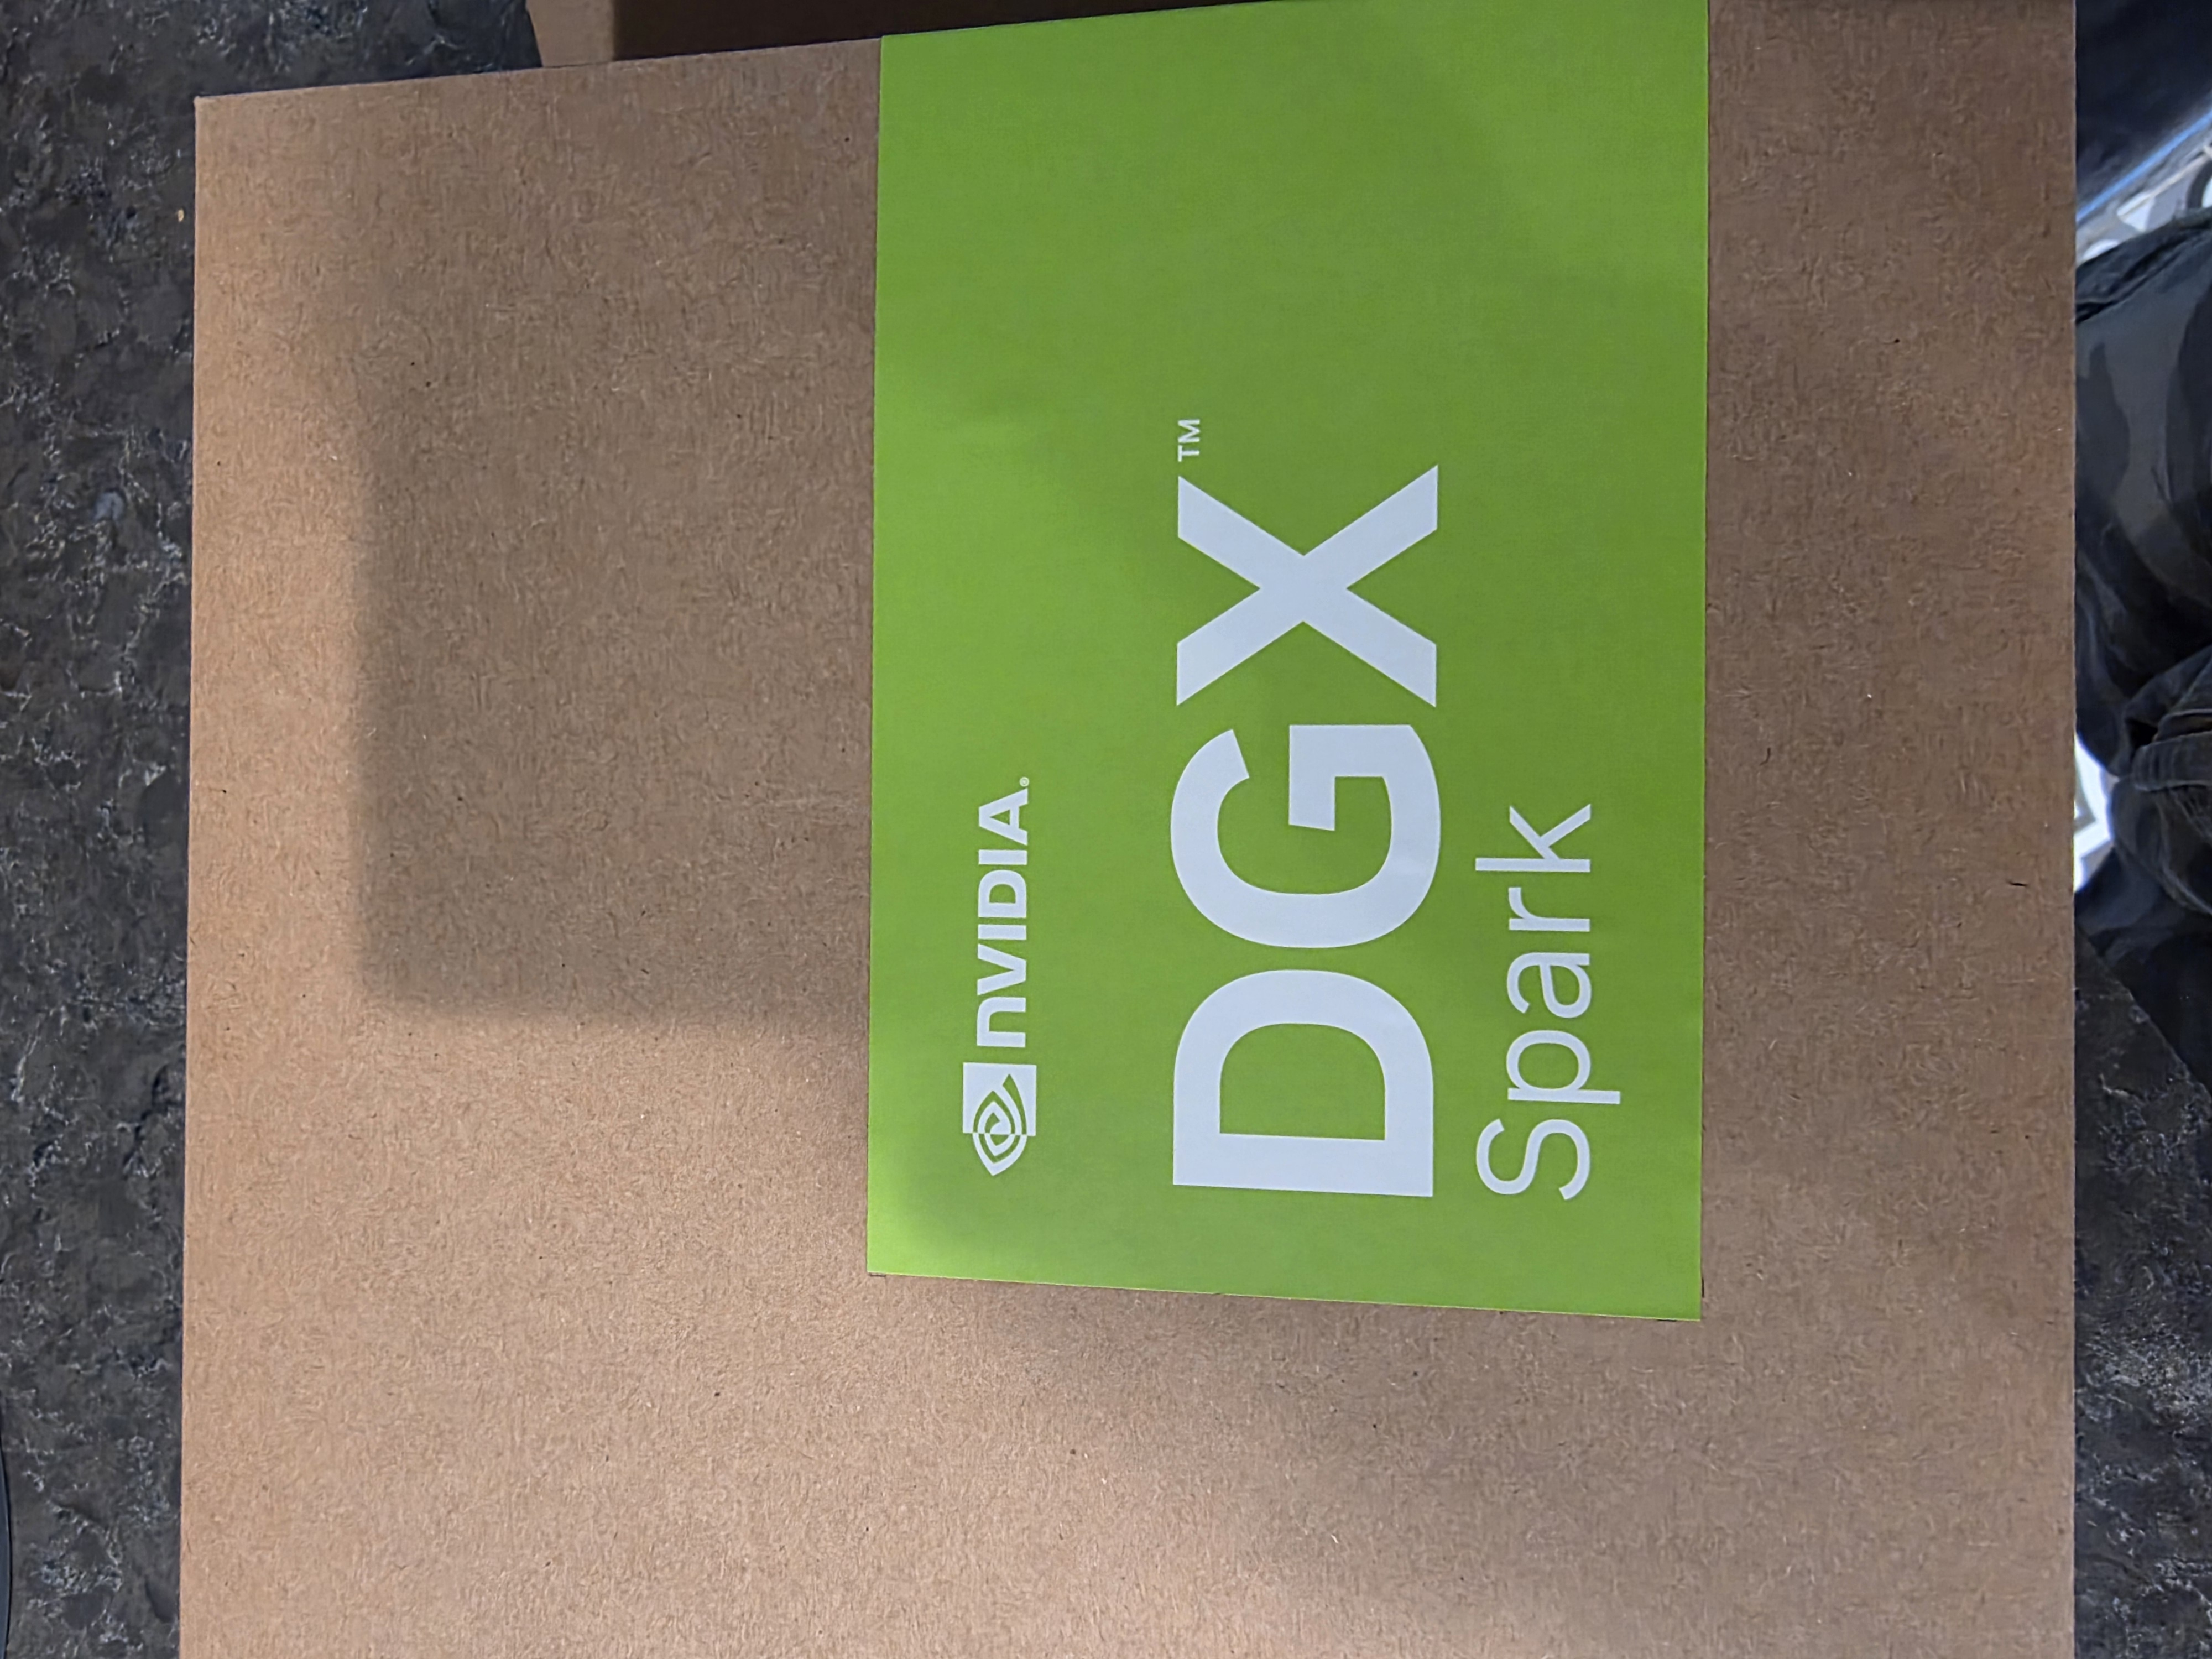
The hard part, honestly, was just starting it up. You turn it on and then you wait. And wait. It updates for a while before it lets you do anything, so if you’re expecting instant gratification, you’re not getting it on the first hour or so. I started off connecting over Wi-Fi just to see how that would go, figuring I’d compare it to a wired setup down the line.
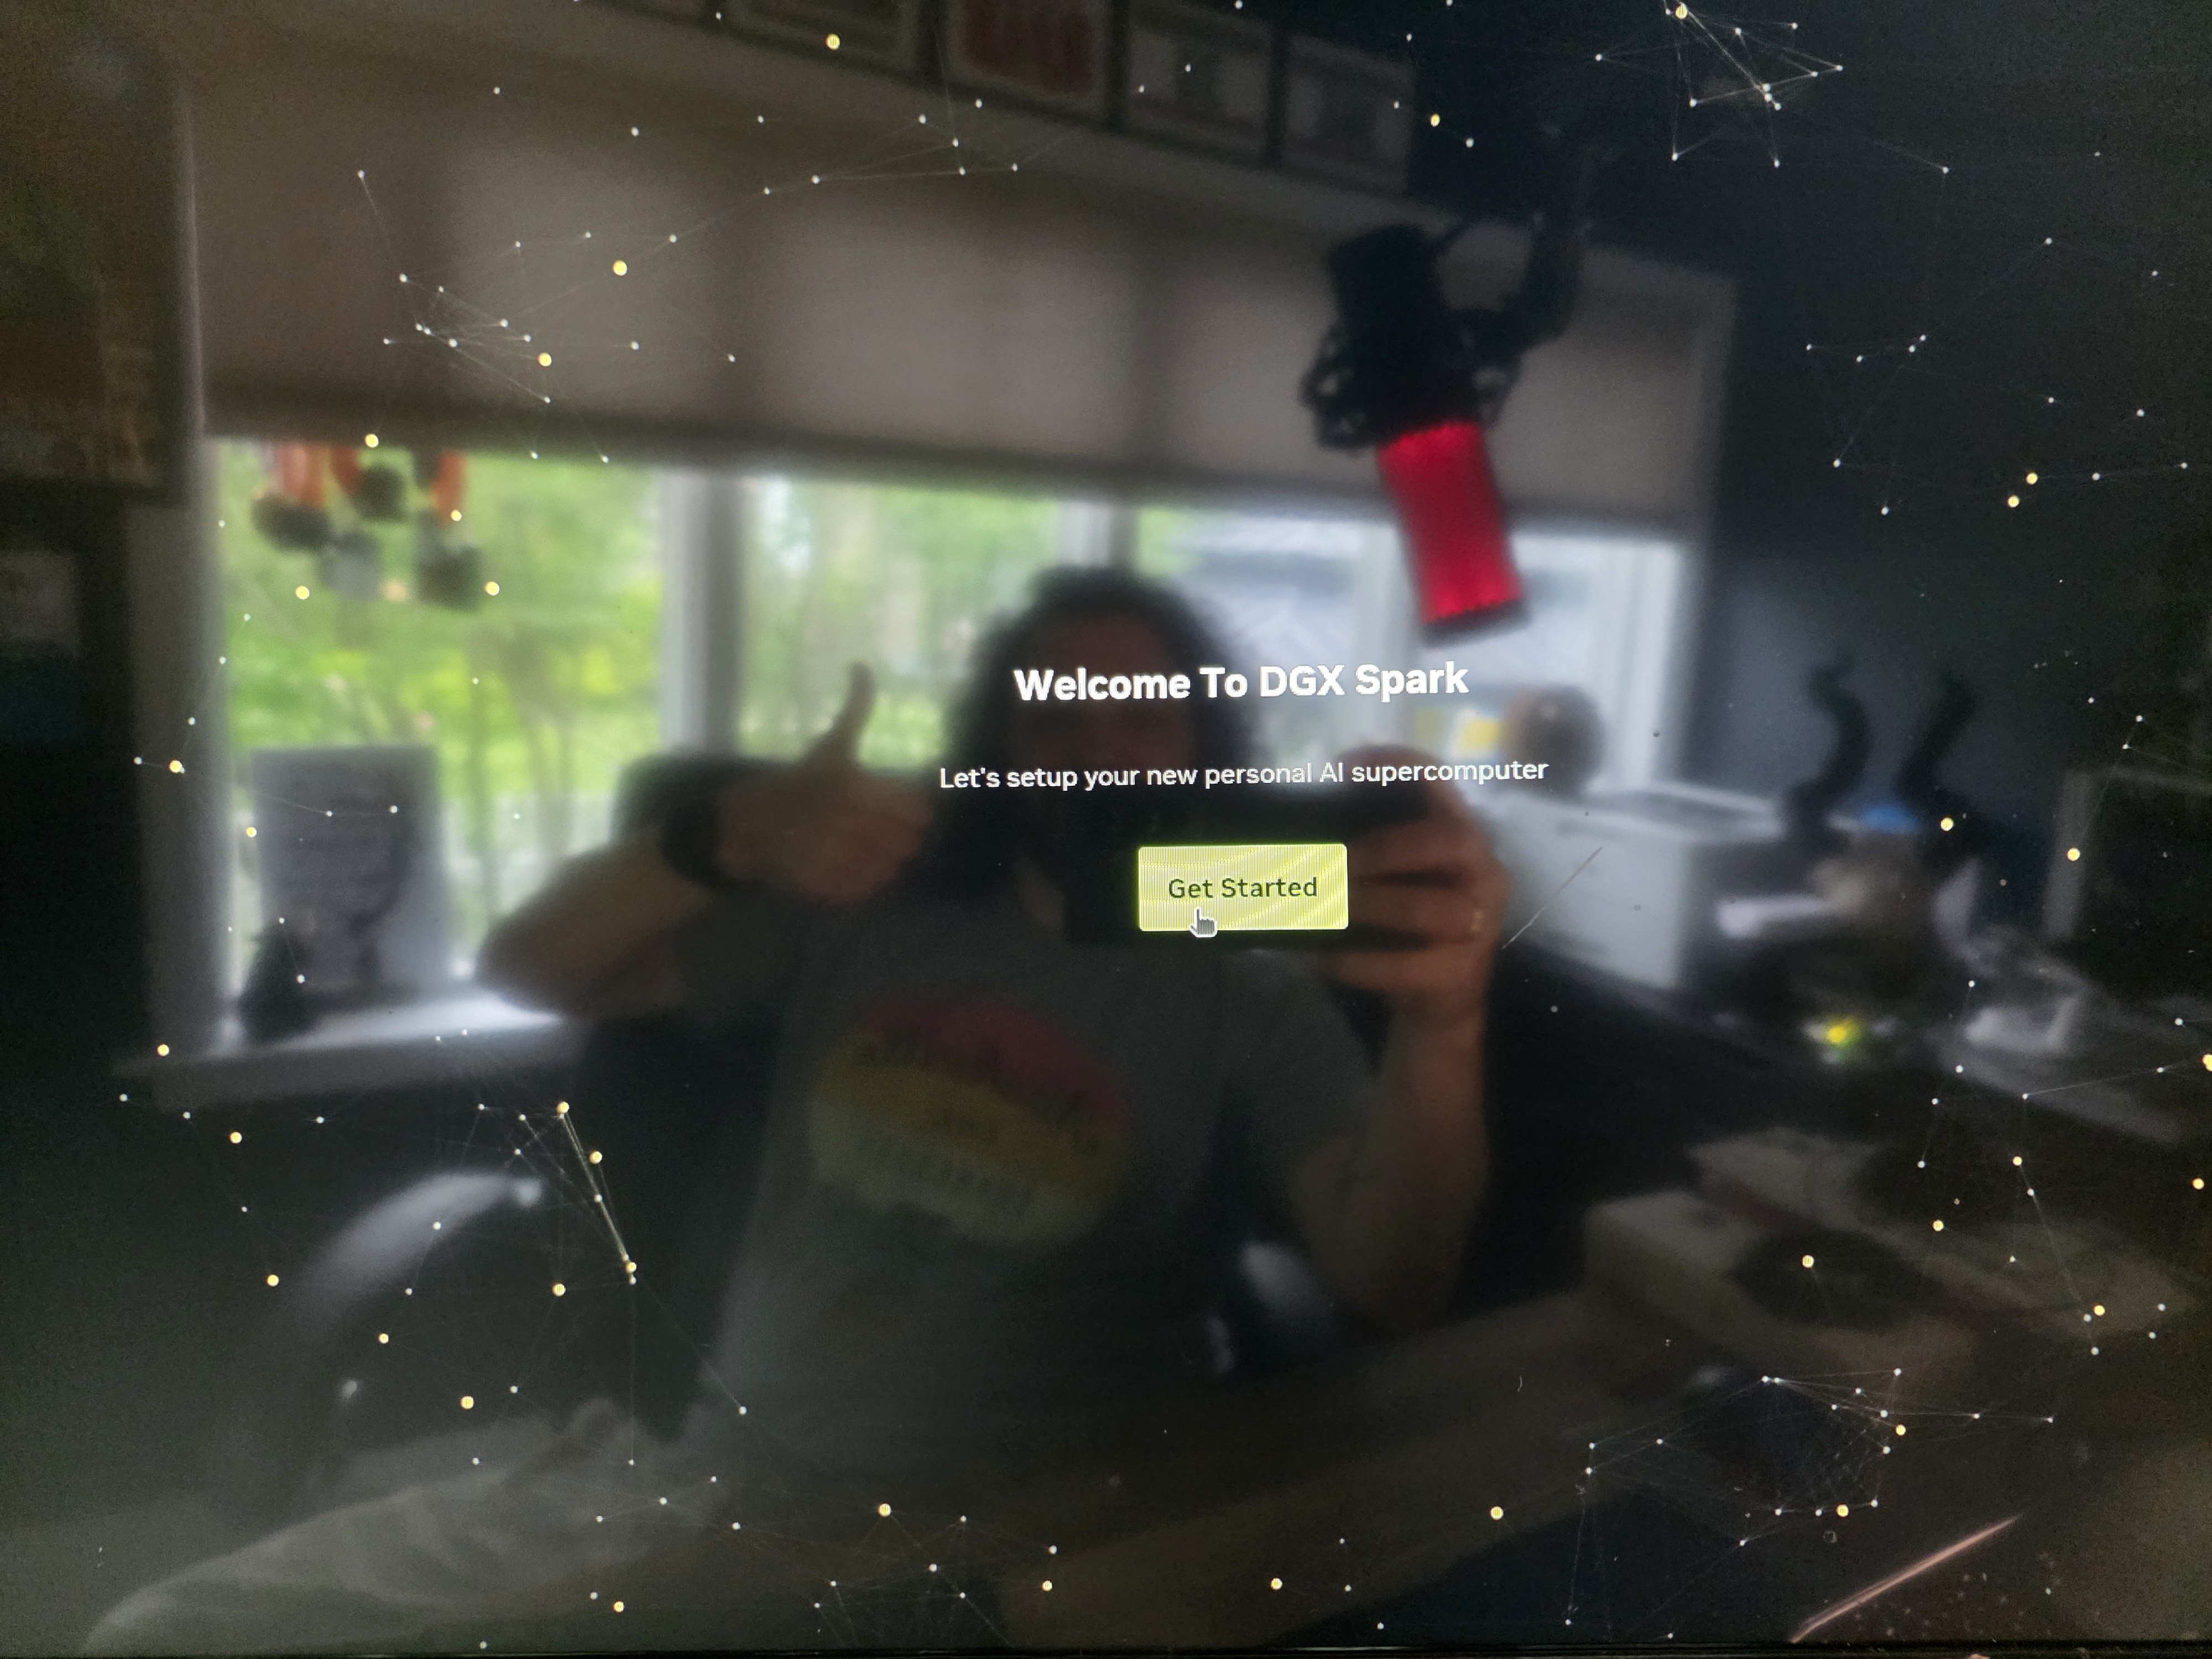
Once I actually had a monitor, keyboard, and mouse hooked up, things got more interesting. I went through the first round of updates, ran a full apt-get update just to be thorough, and checked that the GPU was actually being recognized and working. Small win, but a satisfying one.
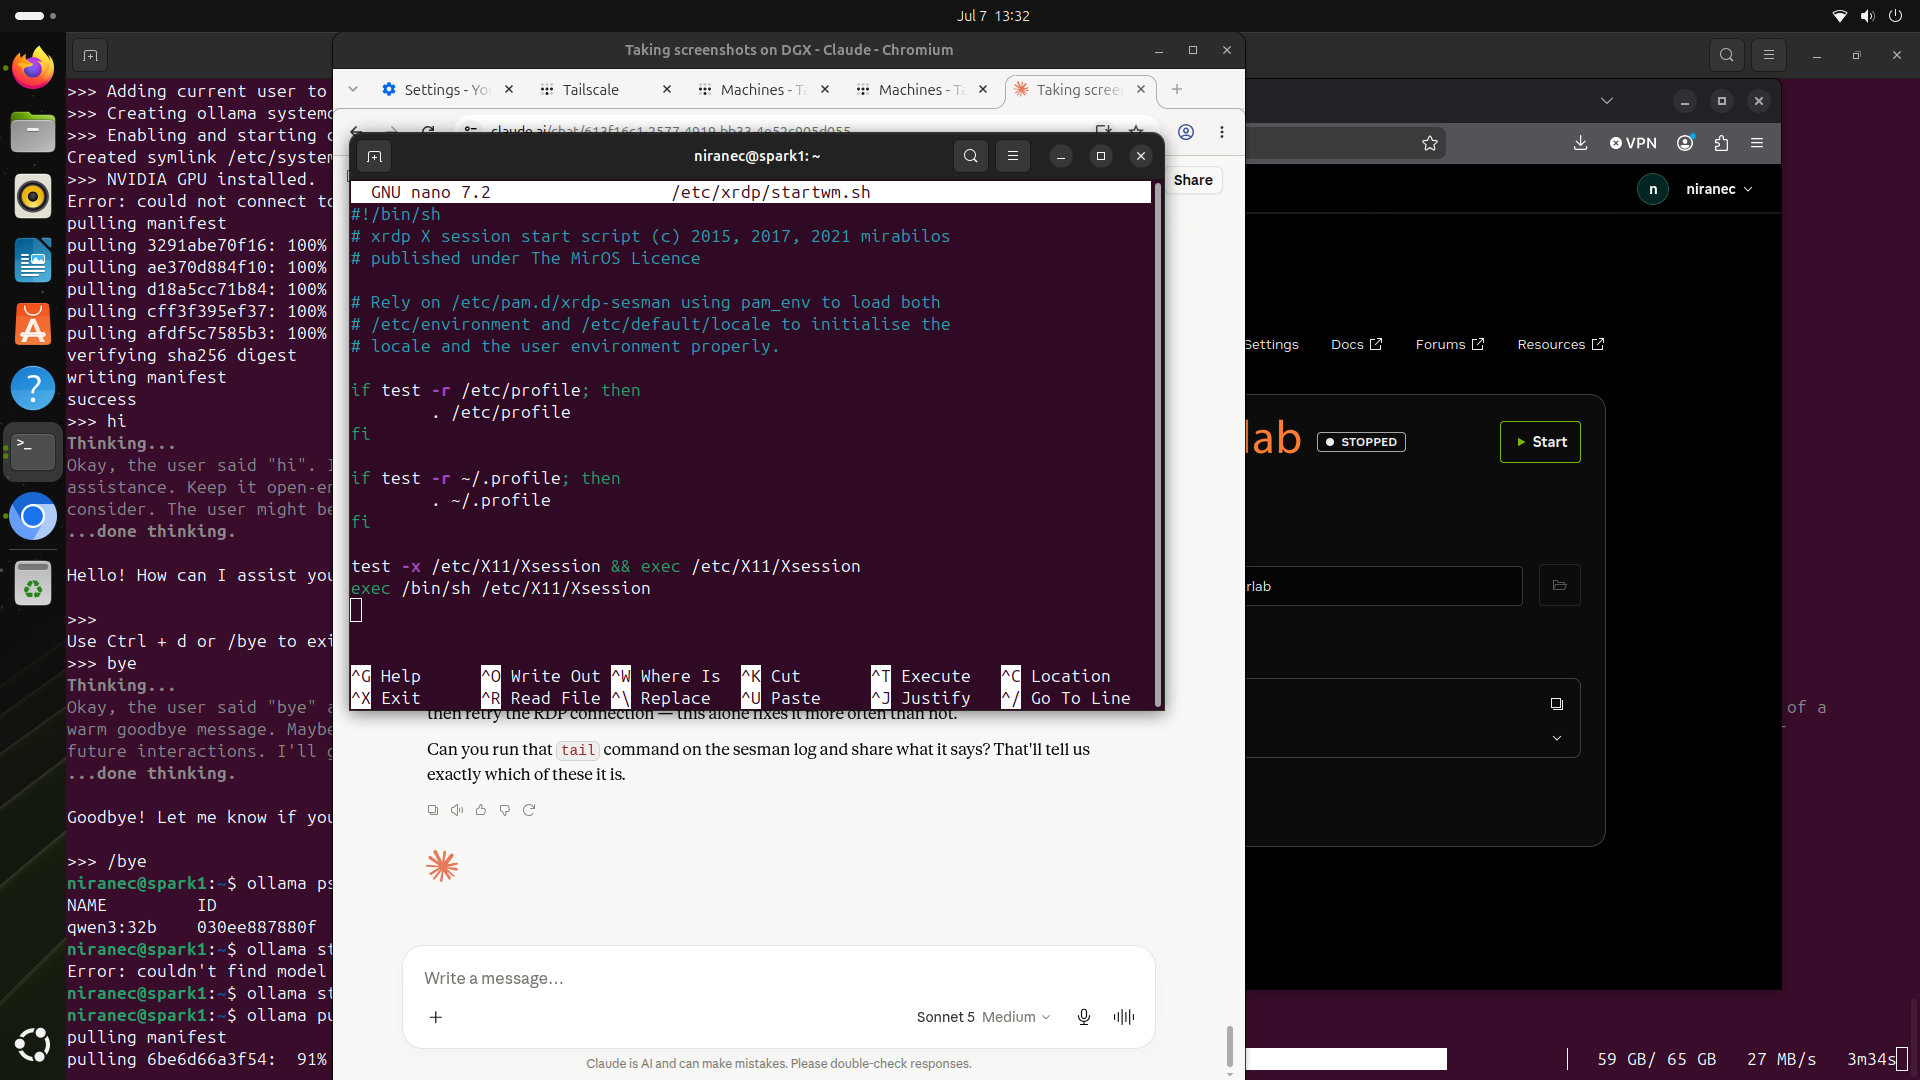
Then I moved into the part I care about: making this thing usable remotely. I installed Tailscale and added the box to my Tailnet so I can reach it from anywhere. I enabled the GNOME remote desktop and turned on RDP connectivity so I could actually work on it without being tethered to a monitor in my house. Here’s the catch I learned the hard way remote desktop on this thing needs an active monitor connected, or it won’t work. So I ordered a dummy HDMI plug off Amazon to fake out a display. Until that shows up, it’s staying connected to a real monitor.
With the remote access sorted (mostly), I got into the fun part: models. My first real use case here is dead simple download a model, run it, spin up a chat, and actually use it like a chat assistant. That’s it. That’s the whole first milestone. Agents and the fancier stuff come later.
I installed Ollama and pulled down two models: Qwen 32B and GPT-OSS 120B. I loaded them separately rather than at the same time, and after playing with both, I decided GPT-OSS is going to be my main chat model for now. Threw Open WebUI on top of it, and just like that I am cooking with gas.
A few things jumped out at me right away that I did not expect:
GPU utilization is wild to watch. The second you fire off a prompt, it jumps straight to 100%, and then as soon as the response wraps up, it drops back down to like 2-3%. Never fully idle, never at zero, but basically resting.
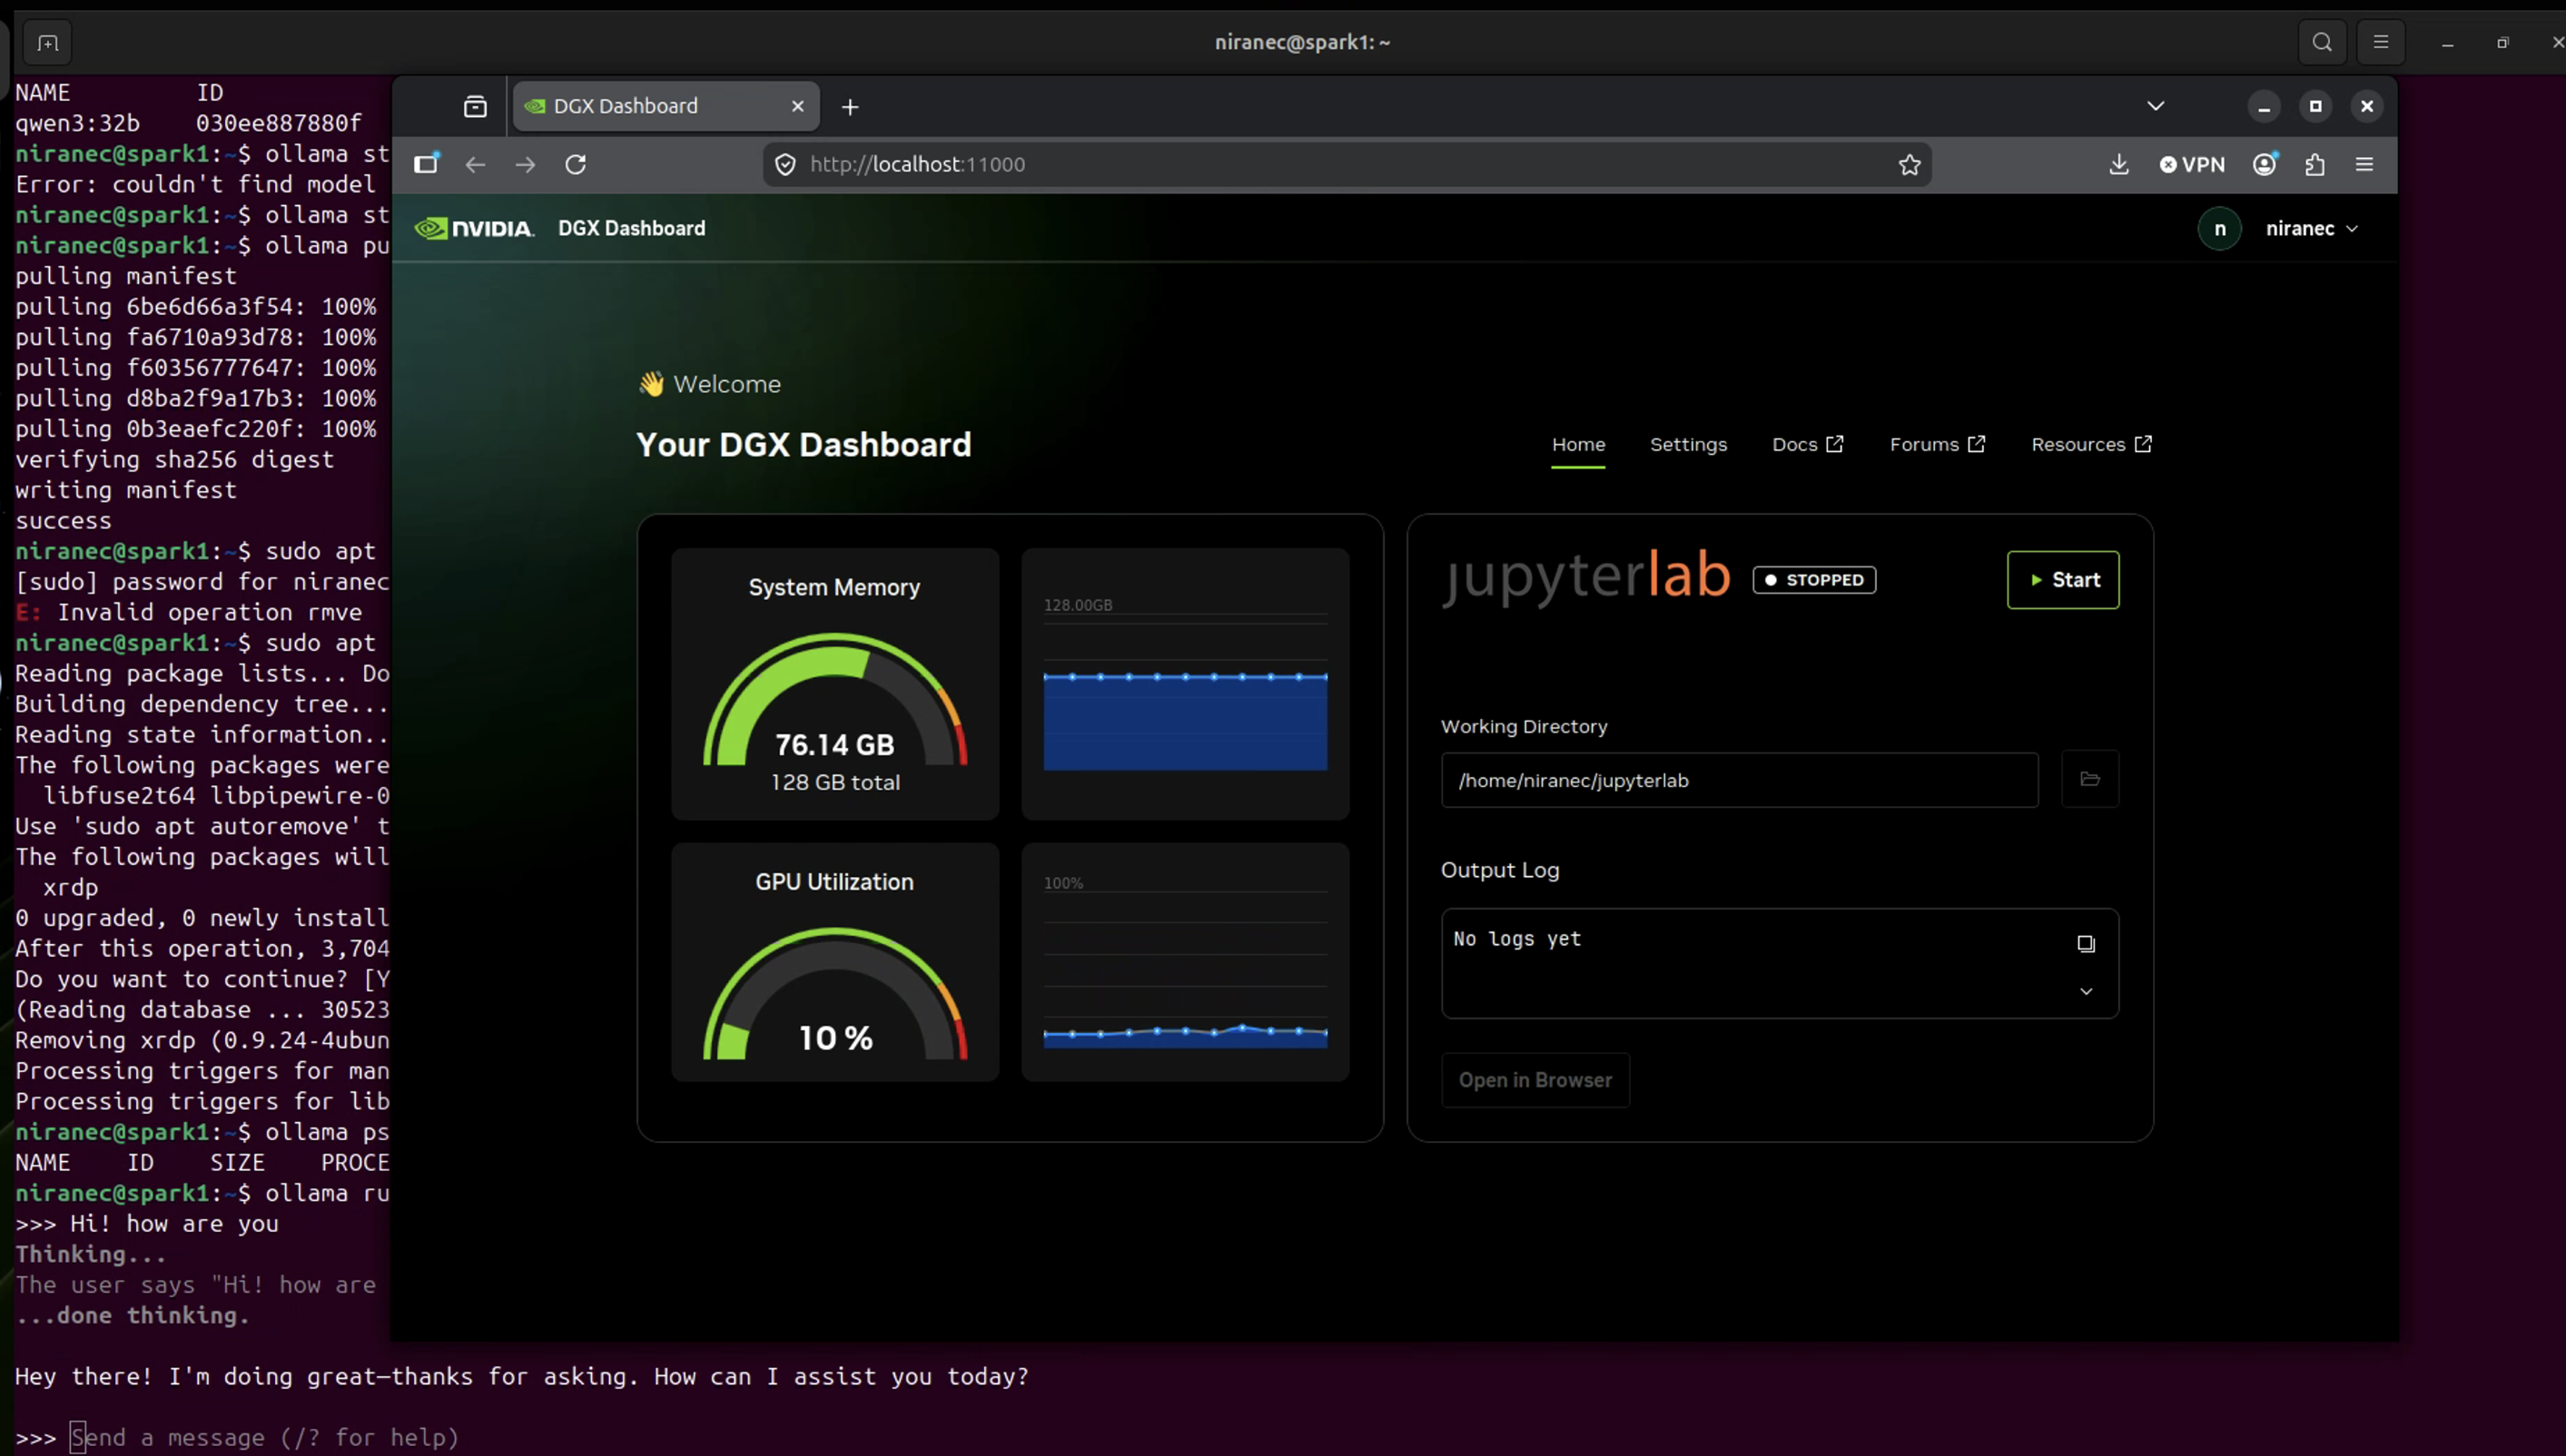
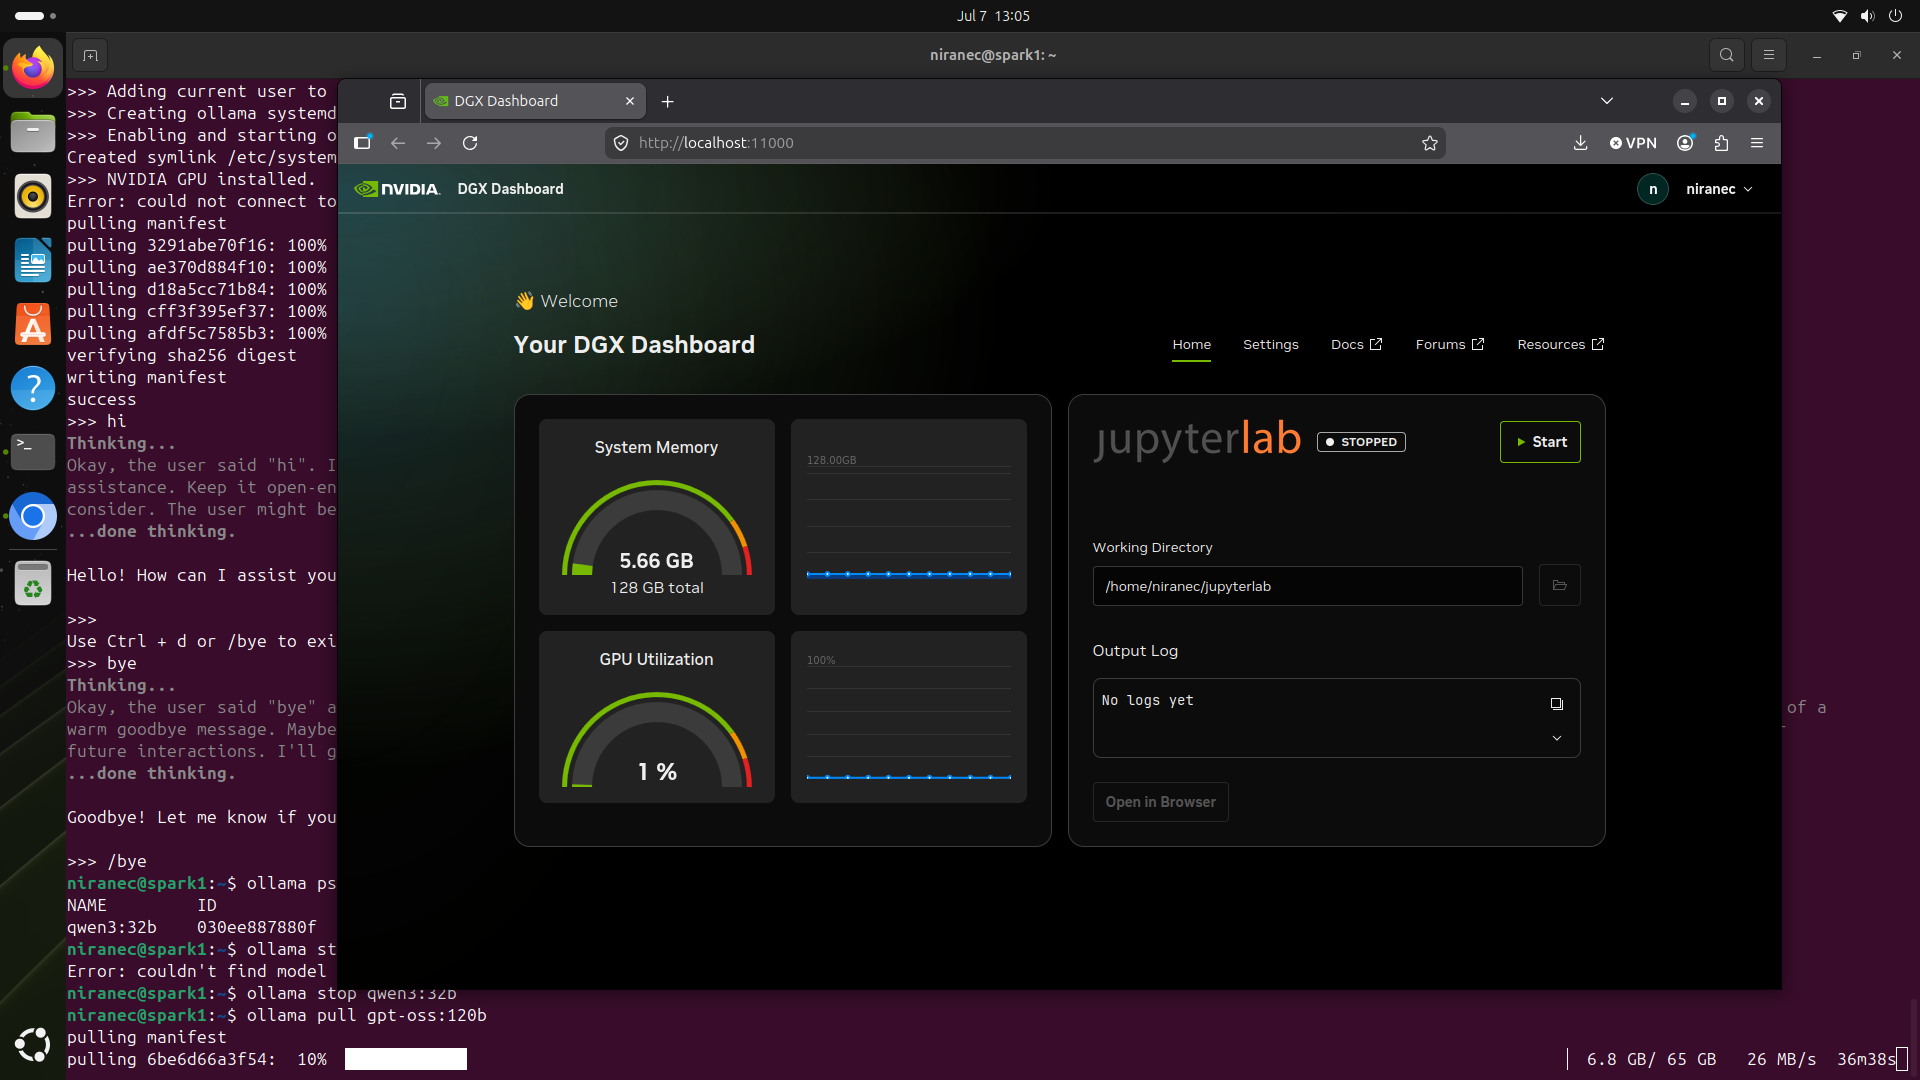
The GPT-OSS memory footprint genuinely surprised me. It’s a 120 billion parameter model, but it only loads around 5GB. From what I understand, it only activates about 5 billion parameters per prompt rather than the whole model, which explains why it’s not eating my entire system memory just sitting there loaded. It does climb up during inference, gets partway through system memory, but then settles back down nicely afterward.
And weirdly, Qwen uses more memory just sitting idle than GPT-OSS does. Not what I would’ve guessed going in.
Next step on the chat side is learning the admin side of Open WebUI, customizing it, and — this is the part I’m actually excited about — rolling it out to my family as basically their own private version of ChatGPT. I want to see how it holds up once real people with real, unpredictable questions start hitting it instead of just me.
After that, it’s agents. And after that, the bigger picture: standing up a physical server and building out a proper governed, secure, enterprise-style private AI setup at home. But that’s a later chapter. For now, I’ve got a gold box on my desk, a model running, and a family who has no idea their new AI assistant is currently living in my office.
And the next phase is actually getting into all the agentic work. Yes, I’m still going to work on the chatbot, which I’ll create, and I’ll blog about it here — how it’s being used, who’s using it, and whether it actually provides what they want. But getting to the agentic stuff, and then the agentic infrastructure around it, is really what’s interesting to me, and I’ll get there later.
I’m going to start with a local agent like Nemo Claw and do some actions on that, but then obviously the goal is to run an external agent on Tanzu on VMware Cloud Foundation, and then we’ll see how we actually do secure, private AI at home.
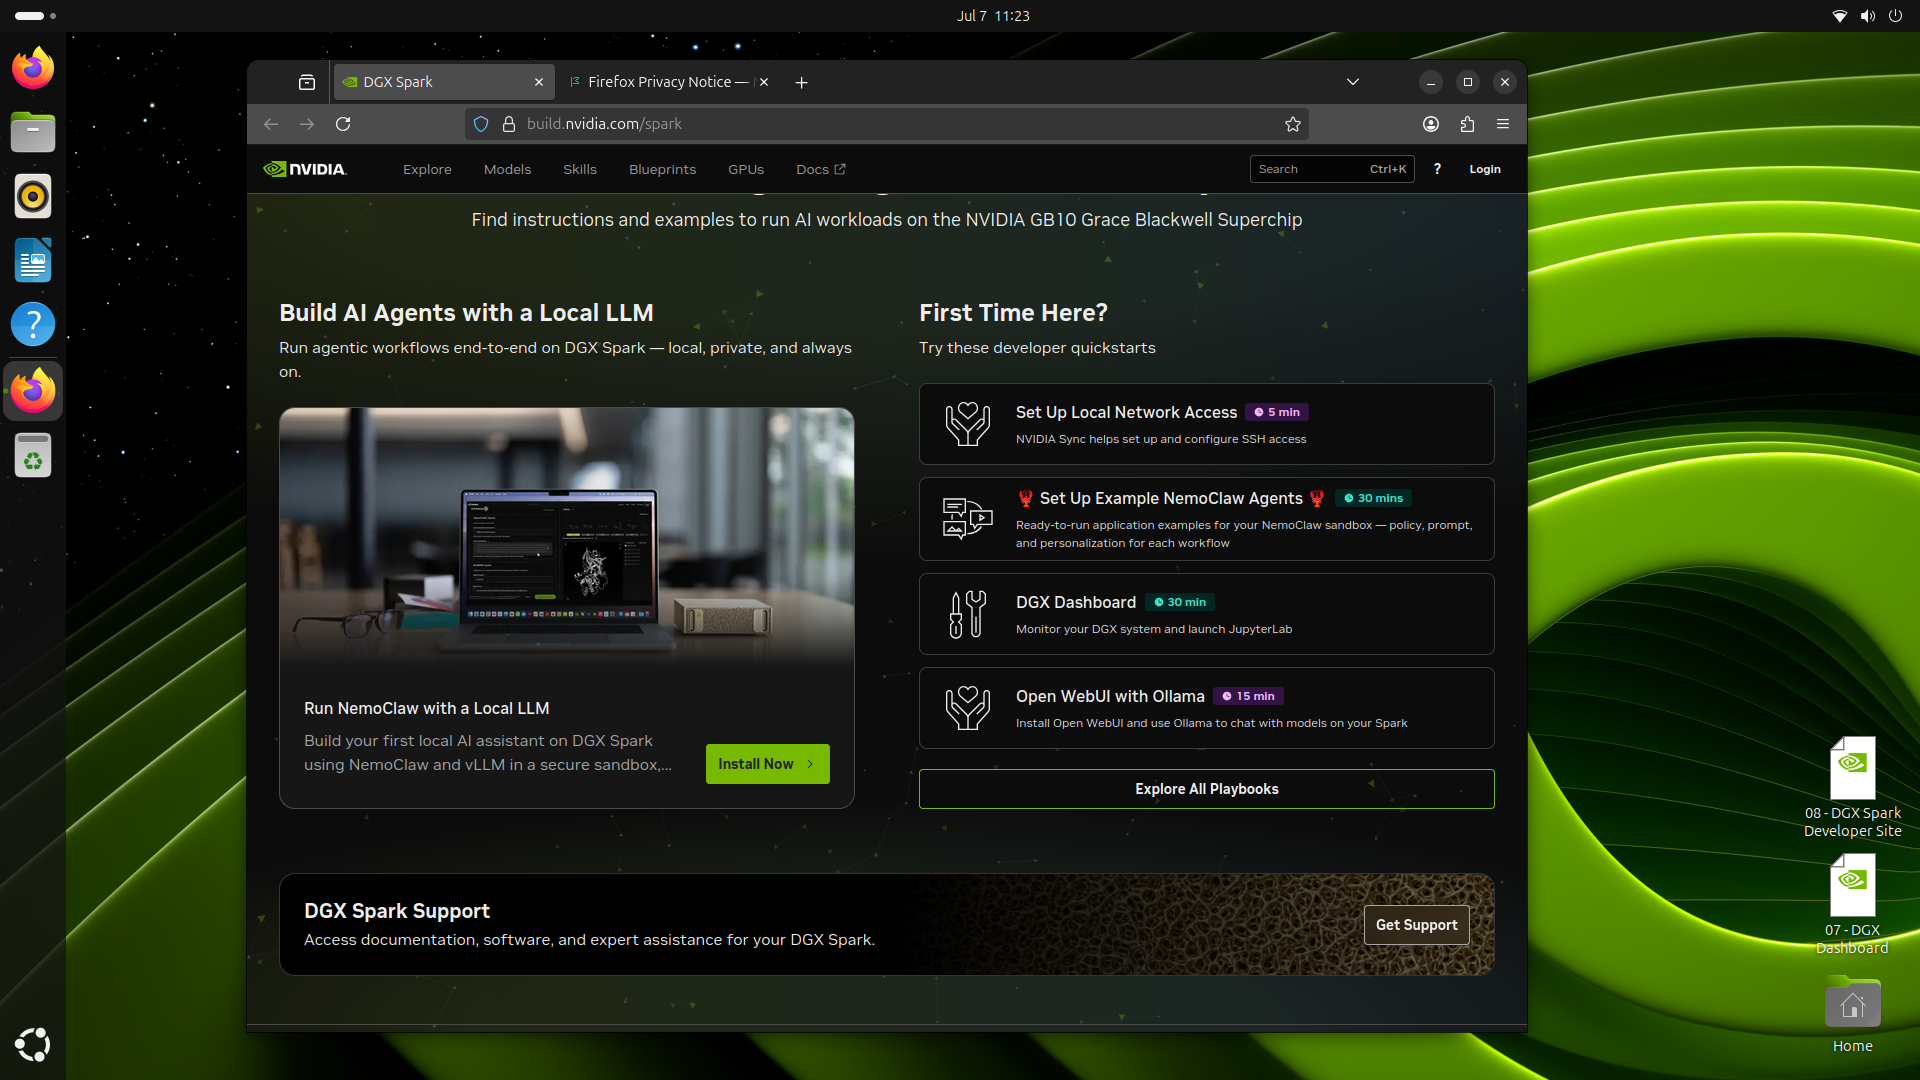
DGX Spark Unboxing: First Steps Checklist
For anyone going through this themselves, here’s the order I’d recommend, based on what I actually did:
- Unbox and inspect — check the box for the unit itself and any included accessories/cables.
- Connect a monitor, keyboard, and mouse — do this for initial setup even if you plan to go headless later.
- Power on and let it update — the first boot takes a while to get through its updates. Be patient.
- Run a full system update —
sudo apt-get update && sudo apt-get upgradeto make sure you’re current before installing anything else. - Verify GPU functionality — confirm the GPU is recognized and working before moving on.
- Set up remote access:
- Install Tailscale and join it to your Tailnet.
- Enable GNOME remote desktop.
- Enable RDP connectivity.
- Note: remote desktop requires an active monitor connection to function — a dummy HDMI plug solves this if you want to run headless.
- Install Ollama and pull down the models you want to start with.
- Install Open WebUI to get a usable chat interface on top of your models.
- Load one model at a time to start — get a feel for how each behaves before running multiple simultaneously.
- Watch resource usage — GPU and memory behavior at idle vs. under load tells you a lot about how the model is architected and how it’ll perform for your use case.
From there, it’s really about defining your first use case (mine was a simple chat interface) before moving into anything more advanced like agents or infrastructure.
On to the next part, making a usable chat system